The Lazy Developer Series: E1 — Powering through the Terminal like a pro.
- Published on • 16 minutes read
 Photo by Goran Ivos on Unsplash
Welcome to the first episode of The Lazy Developer Series. In this episode I'll share some handy terminal hacks to improve productivity. I am a sucker for automating simple mundane tasks. As a developer, I often spend a lot of time on the Terminal. Over the years, I've created various aliases and tricks to do stuff quickly on the Terminal.
Before I show the productivity hacks, I'd like to first show how to bling your terminal, so that when people look at you doing your thing on the Terminal at the coffee shop, they are awestruck.


You can jump straight to the productivity hacks if you've already customized your terminal.
Setting up iTerm
iTerm2 is an open source replacement for Apple's Terminal. It's highly customizable and comes with a lot of useful features. While Apple's default Terminal does the job, iTerm is like default terminal on steroids. Some main features which I use are:
- Split Panes: Divide a tab up into multiple panes, each one showing a different session. You can slice vertically and horizontally and create any number of panes in any imaginable arrangement.
- Search: iTerm2 comes with a robust find-on-page feature. The UI stays out of the way. All matches are immediately highlighted. Even regular expression support is offered!
- Autocomplete: Just type the start of any word that has ever appeared in your window and then Cmd-; will pop open a window with suggestions. The word you're looking for is usually on top of the list!
- Shell Integration: iTerm2 can integrate with your shell so it knows where your shell prompt is, what commands you're entering, which host you are on, and what your current directory is. This enables all sorts of cool features: you can easily navigate to previous shell prompts with ⇧⌘↑ and ⇧⌘↓. Your most used directories will be remembered for you. You can auto-complete previously used commands. And much more!
- User Profiles: Do you need to store separate configurations for many hosts? iTerm2 provides a taggable and searchable profile database, so you can easily find the profile you're looking for.
This was just the tip of the iceberg. There are a lot more features which iTerm provides.
You can download iTerm2 from the official site. https://iterm2.com/downloads.html
Setting up ZSH and Oh My ZSH
Default shell is macOS is usually bash. Let's change our default shell to zsh.
What's ZSH?
Zsh is an extended Bourne shell with many improvements, including some features of Bash, ksh, and tcsh. Wikipedia.
Let's get started by running, in whatever terminal shell you're currently using.
which zsh
/usr/local/bin/zsh
If the output is zsh not found, then we can simply install it using Homebrew.
brew install zsh
Setting up Oh My ZSH
Once we've installed zsh, next up is the framework Oh My ZSH. It's an open source community driven framework to manage ZSH configs.
To install, simply curl
sh -c "$(curl -fsSL https://raw.github.com/ohmyzsh/ohmyzsh/master/tools/install.sh)"
Install a theme
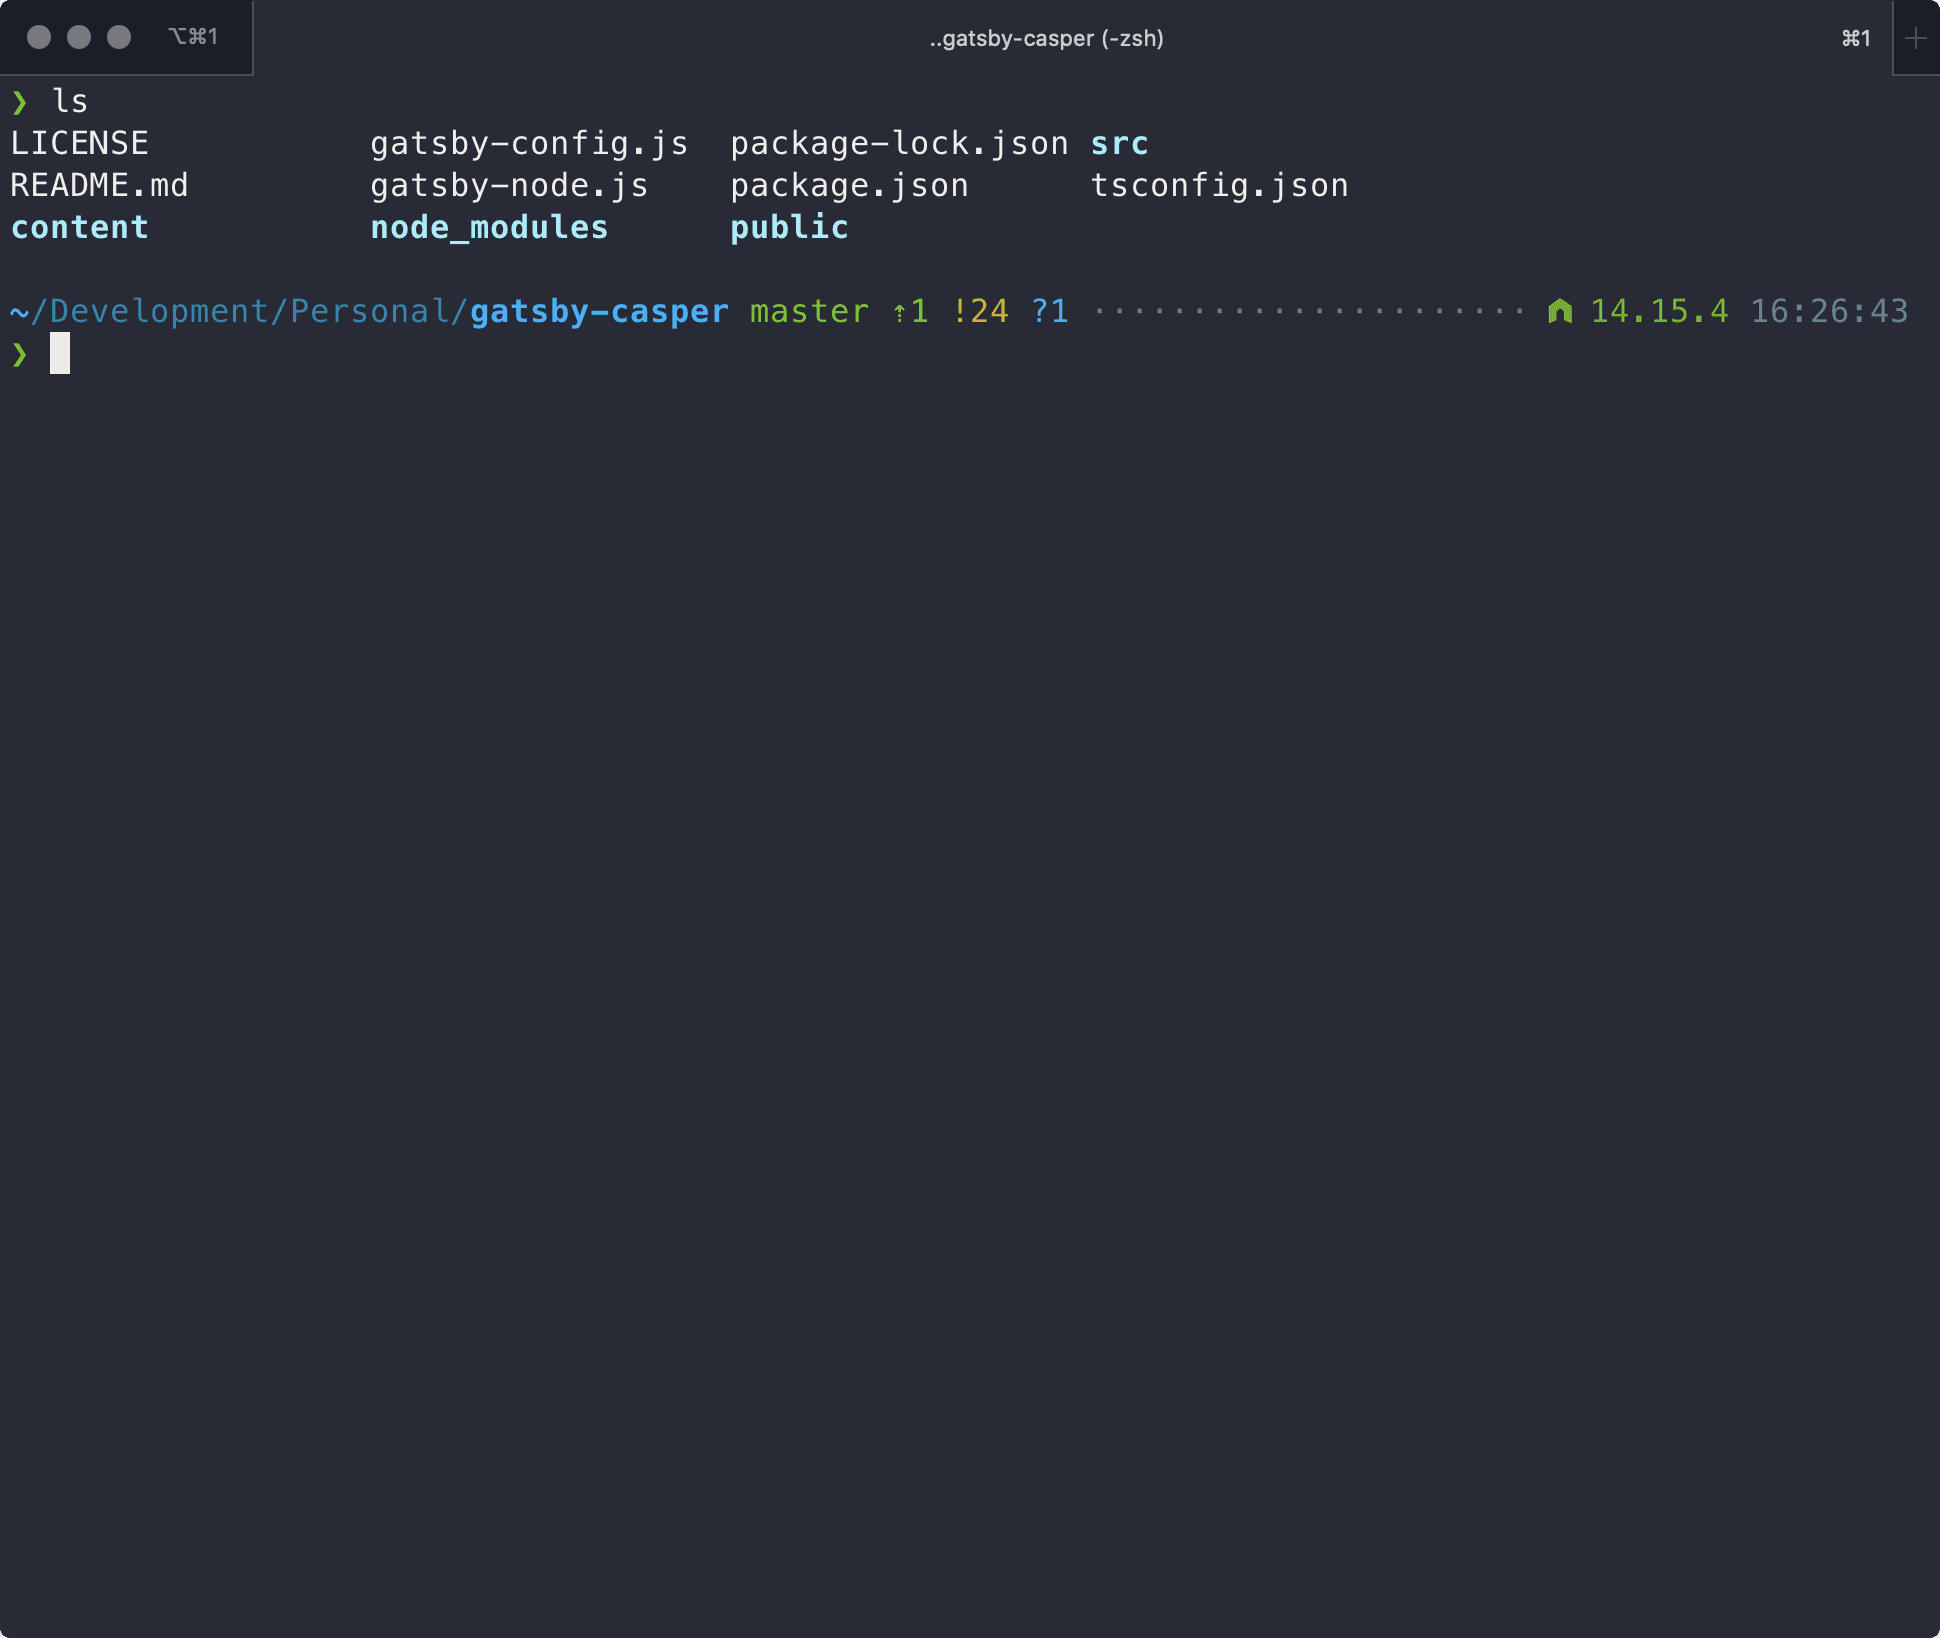
I recommend Power Level 10k theme. If you want your iTerm to look like mine, here is the config:
p10k configure
Wizard options: nerdfont-complete + powerline, small icons, unicode, lean, 24h time,
2 lines, dotted, no frame, lightest-ornaments, sparse, few icons, concise,
transient_prompt, instant_prompt=verbose.

Now that our terminal is all blinged up, let's get to the productivity hacks.
Navigating between previous commands
- First install a plugin called
history-substring-search.
git clone https://github.com/zsh-users/zsh-history-substring-search ${ZSH_CUSTOM:-~/.oh-my-zsh/custom}/plugins/zsh-history-substring-search
- Activate the plugin in the plugins section in
~/.zshrc
plugins=( ... history-substring-search)
- Source your
zshrcfile,
source ~/.zshrc
Now, just type your command and press up arrow or down arrow, depending on whether you want to search forwards or backwards,

Working with Alias
Alias is simply a shortcut for a command. Say you want to cd into a really long directory,
cd go/to/a/really/long/directory/from/where/ever/i/am/right/now
Remembering this path is a challenge (Unless ones got a photographic memory). Let's make it short. Fire up the terminal and type
code ~/.zshrc
I am using VS Code to edit these files. You can use vim, nano or whatever edits your code.
Let's create our alias
alias goto_dir='cd go/to/a/really/long/directory/from/where/ever/i/am/right/now'
Now save the file and source it so that the changes are available in the terminal session,
I am using zsh, hence ~/.zshrc is the file where I'll keep the alias. For bash users, it'll usually be ~/.bash_profile.
source ~/.zshrc
This will pick up any changes we did to our ~/.zshrc. Let's goto that really long directory once again, but this time using the alias we just wrote.
goto_dir
et voilà! We now executed the really long command using a shortcut.
Bonus point: We can type some characters and press tab for auto complete to type our alias.
So, writing an alias is pretty straightforward. I'll share some of the more advanced stuff which I use on an almost daily basis.
Functions as Alias? Sure.
The thing about alias is that, we can also add a function block to accept inputs and do some additional stuff which cannot be done using a one-liner.
Let's start with a simple one. Most of the time when I use mkdir I always do a cd after. Seeing how lazy we are, let's save some time with this. Add this to our ~/.zshrc :
mcd () { mkdir -p "$1" && cd "$1"; }
$1 here indicates the first argument we pass to the function. Now just type
mdc new-folder
and we have created the folder and made it the current working directory.
Now what if we want to search a git commit by part of its commit message?
# Git log find by commit message
function glf() { git log --all --grep="$1"; }
Now all I type is
glf missing
And it'll list out the commits with the string 'missing' in them.
Configuring files for Alias
In all the above examples, I edited the ~/.zshrc file directly and added stuff. But in reality, I like to keep my alias and shortcuts in their respective files and source it in .zshrc. It keeps the main .zshrc file clutter-free, and I can version control all my alias files. Let me show how I've done that.
Create a ~/.custom_alias/ folder. The location can be anywhere on your system. I prefer to keep it in ~/.custom_alias folder, close to ~/.zshrc file.
Depending on the type of aliases, I create a file in ~/.custom_alias/ folder.
environment.zsh: For environment values,navigation.zsh: For navigating & finding files,networking.zsh: For networking specific stuff,git-alias.zsh: For git specific commands,development.zsh: For development specific commands,utils.zsh: For any other random stuff which does not fit in the above
Now to use these, we need to source the files. This is how I source the files in ~/.zshrc:
export CUSTOM_ZSH="$HOME/.custom_alias" # directory where all custom zsh files are stored
typeset -a sources

sources+="$CUSTOM_ZSH/environment.zsh"
sources+="$CUSTOM_ZSH/finder.zsh"
sources+="$CUSTOM_ZSH/networking.zsh"
sources+="$CUSTOM_ZSH/git-alias.zsh"
sources+="$CUSTOM_ZSH/development.zsh"
sources+="$CUSTOM_ZSH/work.zsh"

for file in $sources[@]; do
    if [ -f "$file" ]; then
        source "$file"
    else
        print "404: $file not found."
    fi
done

export ZSH_DISABLE_COMPFIX=true
source $ZSH/oh-my-zsh.sh # Source oh-my-zsh in the end
Here are some of the content of the alias files which I have on my Mac. For obvious reasons, PII and login related stuff are not here.
Environment Alias
# Basic environment settings related to the zsh compiliation (not private)
export CUSTOM_CONFIG="$HOME/.config"
export CUSTOM_CACHE="$HOME/.cache"
export CUSTOM_ZSH="$HOME/.custom_alias"

# executable search path
export PATH=/usr/local/sbin:$PATH
export PATH=$HOME/.local/bin:$PATH
export PATH=$HOME/.local/sbin:$PATH

export DATE=$(date +%Y-%m-%d)
Navigation Alias
# Edit and Source Bash
alias edit_bash='code ~/.bash_profile'
alias source_bash='source ~/.bash_profile'
# Edit and Source ZSH
alias edit_zsh='code ~/.zshrc'
alias source_zsh='source ~/.zshrc'
# Backup zsh
alias backup_zsh='cp ~/.zshrc ~/.zshrc_bak'
alias vsc='code .'

alias ll='ls -al' 							# List all files in current directory in long list format
alias ldir='ls -al | grep ^d' 				# List all directories in current directory in long list format
alias ltr='tree -L 1 -h -D -F -a -C' 		# List all directories in current directory in tree format
alias o='open .' 							# Open the current directory in Finder

alias cd..='cd ../'                         # Go back 1 directory level (for fast typers)
alias ..='cd ../'                           # Go back 1 directory level
alias ...='cd ../../'                       # Go back 2 directory levels
alias .3='cd ../../../'                     # Go back 3 directory levels
alias .4='cd ../../../../'                  # Go back 4 directory levels
alias .5='cd ../../../../../'               # Go back 5 directory levels
alias .6='cd ../../../../../../'            # Go back 6 directory levels

alias lsize='du -sh $(ls -A) | sort -n'			# List files by size
mkcd () { mkdir -p "$1" && cd "$1"; }				# Create a directory and CD into it
Networking Alias
alias ip='curl icanhazip.com'                       # Your public IP address
alias ip_local='ipconfig getifaddr en0'             # Your local IP address
alias netCons='lsof -i'                             # netCons:      Show all open TCP/IP sockets
alias flushDNS='dscacheutil -flushcache'            # flushDNS:     Flush out the DNS Cache
alias lsock='sudo /usr/sbin/lsof -i -P'             # lsock:        Display open sockets
alias lsockU='sudo /usr/sbin/lsof -nP | grep UDP'   # lsockU:       Display only open UDP sockets
alias lsockT='sudo /usr/sbin/lsof -nP | grep TCP'   # lsockT:       Display only open TCP sockets
alias ipInfo0='ipconfig getpacket en0'              # ipInfo0:      Get info on connections for en0
alias ipInfo1='ipconfig getpacket en1'              # ipInfo1:      Get info on connections for en1
alias openPorts='sudo lsof -i | grep LISTEN'        # openPorts:    All listening connections
alias showBlocked='sudo ipfw list'                  # showBlocked:  All ipfw rules inc/ blocked IPs

#   ii:  display useful host related informaton
#   -------------------------------------------------------------------
    ii() {
        echo -e "\nYou are logged on ${RED}$HOST"
        echo -e "\nAdditionnal information:$NC " ; uname -a
        echo -e "\n${RED}Users logged on:$NC " ; w -h
        echo -e "\n${RED}Current date :$NC " ; date
        echo -e "\n${RED}Machine stats :$NC " ; uptime
        echo -e "\n${RED}Current network location :$NC " ; scselect
        echo -e "\n${RED}Public facing IP Address :$NC " ;ip
        #echo -e "\n${RED}DNS Configuration:$NC " ; scutil --dns
        echo
    }
Git Alias
alias ga='git add'
alias gaa='git add .'
alias gaaa='git add --all'
alias gau='git add --update'
alias gb='git branch'
alias gba='git branch --all'
alias gbd='git branch --delete '
alias gc='git commit'
alias gcm='git commit --message'
alias gcam='git commit -a -m'
alias gcf='git commit --fixup'
alias gco='git checkout'
alias gcob='git checkout -b'
alias gcom='git checkout master'
alias gcos='git checkout staging'
alias gcod='git checkout development'
alias gd='git diff'
alias gda='git diff HEAD'
alias gi='git init'
alias glg='git log --graph --oneline --decorate --all'
alias gld='git log --pretty=format:'%h %ad %s' --date=short --all'
alias gm='git merge --no-ff'
alias gma='git merge --abort'
alias gmc='git merge --continue'
alias gp='git pull'
alias gpr='git pull --rebase'
alias gpnb='git push --set-upstream origin'
alias gr='git rebase'
alias gs='git status'
alias gss='git status --short'
alias gst='git stash'
alias gsta='git stash apply'
alias gstd='git stash drop'
alias gstl='git stash list'
alias gstp='git stash pop'
alias gsts='git stash save'
Development
alias nid='npm install --save-dev'
alias nis='npm install --save'
alias run='npm run'
alias develop='npm run develop'
alias build='npm run build'
alias start_server='http-server -p 4568'
alias listzip='unzip -vl'
alias cpath='pwd|pbcopy'
# Kill process on port
killport() { lsof -i tcp:$1 | awk 'NR!=1 {print $2}' | xargs kill; }
Random Stuff
# Convert *.mov to GIF in 10FPS@480P
# ----------------------------------
mov2gif480p () {
	ffmpeg -i $1 -vf "fps=10,scale=480:-1:flags=lanczos,split[s0][s1];[s0]palettegen[p];[s1][p]paletteuse" -loop 0 $2.gif
}

# Convert *.mov to GIF in 30FPS@720P
# ----------------------------------
mov2gif720p () {
	ffmpeg -i $1 -vf "fps=30,scale=720:-1:flags=lanczos,split[s0][s1];[s0]palettegen[p];[s1][p]paletteuse" -loop 0 $2.gif
}

# cdlt: cd into a directory and list the content as a Tree
# ---------------------------------------------------------
function cdls() {
    DIR="$*";
        # if no DIR given, go home
        if [ $# -lt 1 ]; then
                DIR=$HOME;
    fi;
    builtin cd "${DIR}" && \
    # use your preferred ls command
        ltr
}

# cdf:  'Cd's to frontmost window of MacOS Finder
# ------------------------------------------------------
    cdf () {
        currFolderPath=$( /usr/bin/osascript <<EOT
            tell application "Finder"
                try
            set currFolder to (folder of the front window as alias)
                on error
            set currFolder to (path to desktop folder as alias)
                end try
                POSIX path of currFolder
            end tell
				EOT
        )
        echo "cd to \"$currFolderPath\""
        cd "$currFolderPath"
    }


# showa: to remind yourself of an alias (given some part of it)
# ------------------------------------------------------------
showa () { /usr/bin/grep --color=always -i -a1 $@ ~/.zshrc | grep -v '^\s*$' | less -FSRXc ; }
Feel Productive yet?
This is just one of the ways I stay productive on my terminal. I get it, gaining a second or two by using aliases doesn't look like much, but for someone who spends a lot of time typing commands this small saving adds up exponentially and helps in improving my productivity. YMMV!
That's all for this episode of The Lazy Developer Series!
Until next time! ✌🏽
On this page
Oh, Homebrew is like absolutely the best thing to install packages without all that
sudononsense. Makes life easier and one can also export all installed packages to a file and save it as a dotfile configuration